
Blog
Your Kitchen Pantry: How to Get It Organized
If you have had it up to here with pantry disorganization, it’s time to take control of the situation. You can actually whip your pantry into shape in just a few hours. If you have an afternoon free on an upcoming weekend, here are the steps you can take to get your pantry in tip-top, neat and tidy condition.
#1 Assemble Your Tools
You are going to need a few things to organize your pantry. Luckily, you probably have most of them already! You’ll need garbage bags for out-of-date items, a box for items you might want to donate, paper towels or rags, some type of non-toxic cleaner (a spray bottle of vinegar and water with a few drops of dishwashing liquid works well) and a variety of sturdy bins or baskets. You will also need a place to put everything as you take items out of the pantry; your kitchen table might work well if it’s large; otherwise, large plastic bins will work.
#2 Take Everything Out of the Pantry
This is self-explanatory: Start removing items from the pantry. It’s easiest if you can sort as you go. Put all like things together, such as boxed cereal, pasta, jars, cans and beverages. If you notice anything that is expired, throw it away at this time. If you have food that is not expired but that your family will not eat, place it in the box. Once you’re done, you can drop off the box at your nearest food pantry or soup kitchen.
#3 Wipe Everything Down
Once your pantry is empty, spray and wipe down the shelves and walls. If you have wooden shelves, you can add shelf paper at this time, as it will help keep drips of syrup and other sticky items off of the wood. Also, wash the floor. If you decide that the pantry should be repainted, you can do this now, but you won’t be able to put your food away until the next day, at least, since the paint will need to dry.
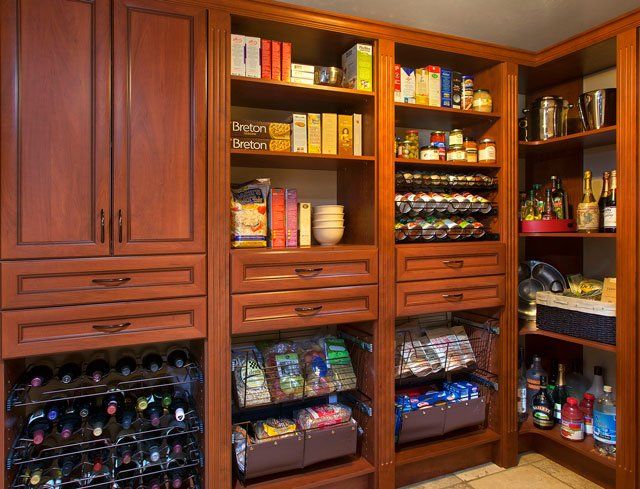
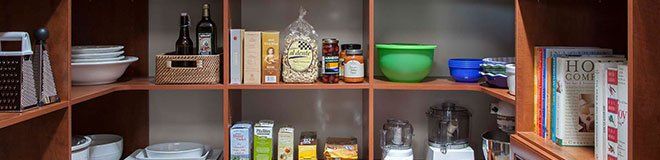
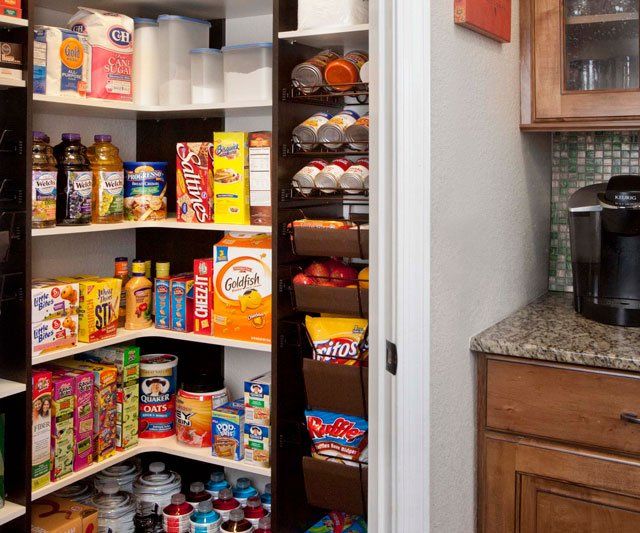
#4 Put Away Your Items
As you put away each item, wipe it down with a damp rag or paper towel to remove any dust or sticky residue. In general, lighter items should go on higher shelves and heavier items, on lower shelves. Put all of your canned goods together, as well as all of your jars, and so on. You can group your boxes by type of food or by size; choose what makes sense to you, as then you’ll be more likely to stick to the organization plan. Light paper goods can go on the top shelf and bottles of juice or soda can go on the floor. Also, small appliances like the slow cooker or dehydrator can go toward the bottom, if not on the floor. If you keep pet food in the pantry, designate a spot for that. Small items, like spices and seasoning packets, can go in bins or baskets to keep them from getting lost.
Once your pantry is in good order, keep it that way by tidying it up every week when you make your grocery list. It will be easy to see what you have and what you need to buy, plus you’ll have a clean place to put away your food.
If you need help getting your pantry organized or you would like to look into having pull-out kitchen pantry shelving and other accessories added, please call Closet Gallery to learn more about what we offer. We can come to your home for a free custom pantry consultation. Call us today!
Need help organizing the rest of your home? Download our Free Tao of Home Organization Guide below!


Closet Gallery
2222 Francisco Drive Suite 220-110
El Dorado Hills, CA 95762
Call Us