
Blog
How To Prepare For A Custom Closet Installation

So you’ve made the decision to install a custom closet but how do you begin preparing the closet space for installation? It can be overwhelming for many to know where to start. What led you to installing a custom closet in the first place was most likely the need for better organization - so exactly how do you deal with the initial disorganization in your closets to be prepared for new closet organizers? Well, don’t worry. We’ve got you covered!
4 Steps To Help You Prepare For A Custom Closet
The professionals at A Closet Gallery in Sacramento, California in collaboration with their expert design team have prepared a four-step process to help you to get started. Whether it’s your bedroom, garage, kitchen pantry, laundry, home office or any other space in the home, these steps can be applied to any area you are planning to install new custom closets.Step 1 - Creating A Blank Canvas
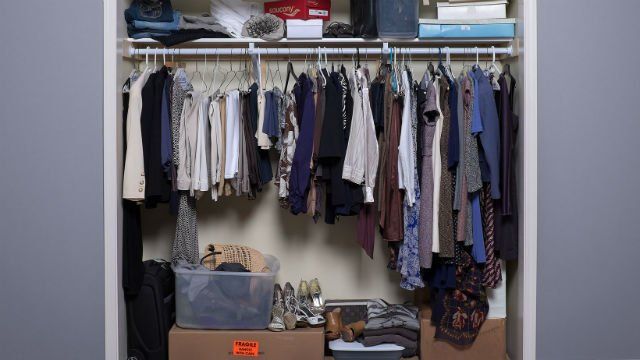
You can get started by removing everything from your closet until the space is completely empty.
From there, begin sorting them into the following three piles so you can take stock of what you have:
- Pile 1 - Keep: For all the clothes you wear regularly, that fit well and any that are sentimental; for example, your wedding dress or graduation uniform.
- Pile 2 - Donate: For clothes that are in good condition that you no longer wear. These items can be donated, given away or sold at a garage sale.
- Pile 3 - Trash: For broken, torn, stained, discolored and damaged clothing that can be turned into rags, upcycled or just thrown away.
Step 2 - The Deep Clean
Once your closet space has been completely emptied it is ready for a deep clean. Wipe and dust all shelving, remove cobwebs along with any marks on the walls and kickboards.
Vacuum or sweep the floors. If your carpets are in need of a steam clean then this is a good time to get it done. It is also a great time to apply a new coat of paint to the walls before your closet system gets installed.
Step 3 - Space Renovation
This step is optional, however, if you are intending to replace flooring, paint walls or do any other upgrades or renovations to the area then this is the best time to get started. The fun part of this step is that you can also go shopping for window dressings, rugs, chairs and any other personalized or decorative items that will enhance your completed closet installation.Step 4 - The Big Day

On installation day, you will want to make sure the space is clean and free of any furniture or items cluttering access to the area. If you have kids or pets, it can be a good day to arrange a play date for them away from the home. Your professional installer will have advised you of the time frame of your particular installation so you can be adequately prepared. Once the installation is completed, you can enjoy filling your new your closet and decorating it how you please!
Are you ready to discover how a professional closet designer can improve the organization in your home? Then call A Closet Gallery in Sacramento, California and schedule your No-Obligation FREE In-Home consultation today!


Closet Gallery
2222 Francisco Drive Suite 220-110
El Dorado Hills, CA 95762
Call Us